How far above plants should a grow light hang?
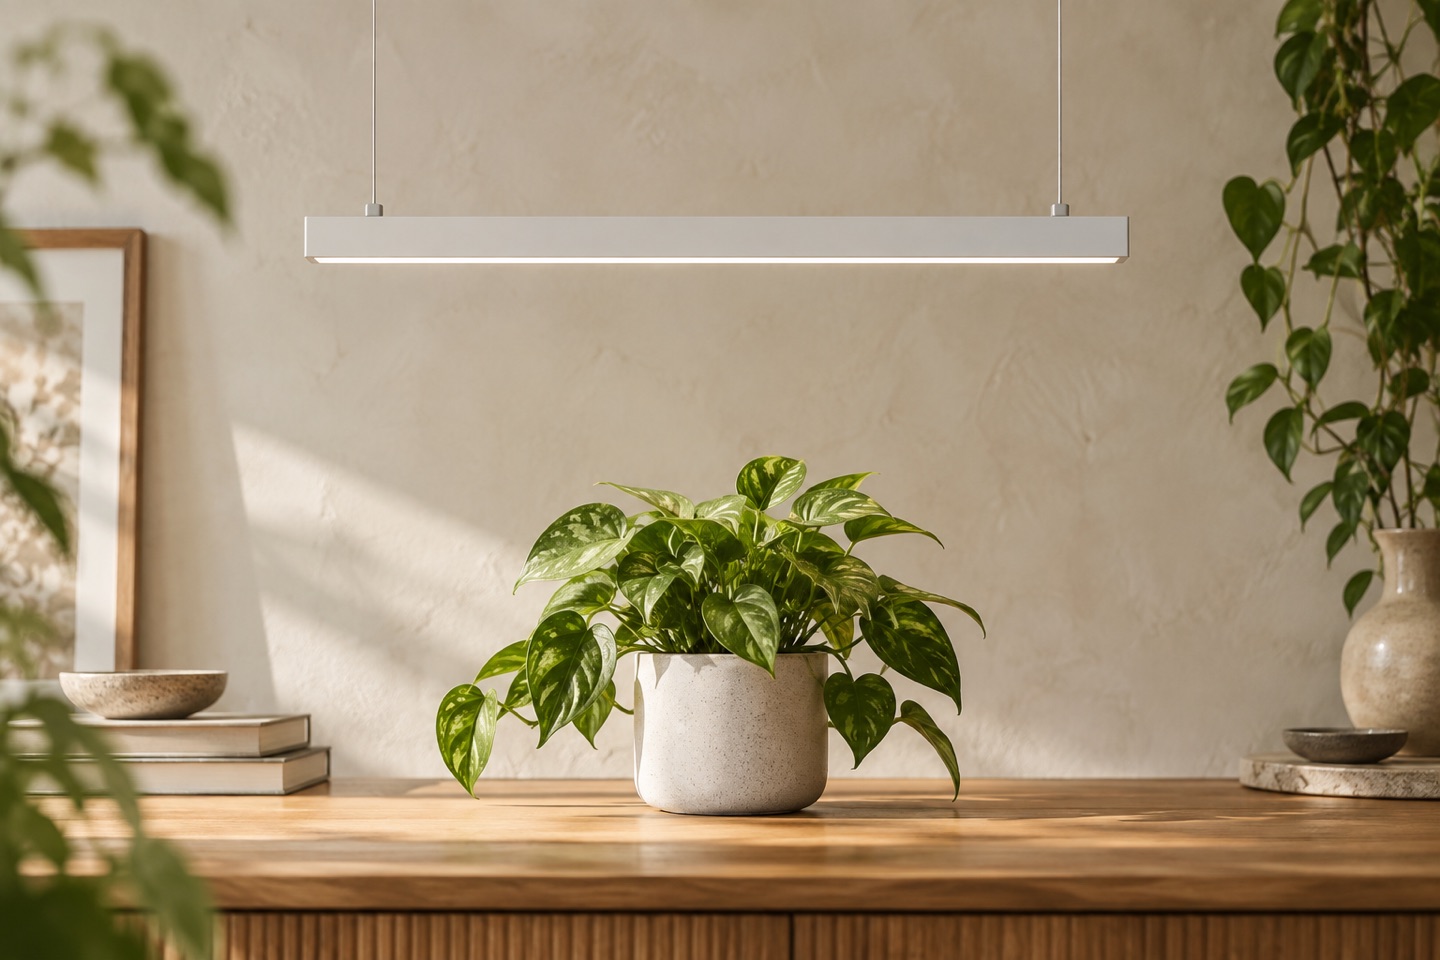
The right grow-light distance is the one that works for your exact fixture, plant arrangement, and available space. A familiar number from another setup can be a useful question to investigate, but it is a poor installation rule when the lamp shape, output, or plant is different.
Start with the fixture's instructions, then compare its output information at a height your setup can actually maintain. For shelves and trays, measure the corners as well as the center and leave room for adjustment. This guide explains what to measure, how to compare light maps, and why a thoughtfully adjustable installation is often worth more than a fixed position copied from a product photograph.
As an Amazon Associate I earn from qualifying purchases. Amazon links below are paid links. Read our disclosure.
This guide combines source-based research with practical arrangement advice. We have not conducted hands-on product tests.
Keep the model and map together
Begin with the exact model and revision. A long bar, a screw-in bulb, and a compact head distribute light differently, so a distance recommendation for one is not automatically suitable for another. Keep any dimmer position, tested footprint, and surrounding conditions beside the map you use.
Read the minimum clearances and approved mounting conditions before choosing a working height. The physical instruction and the plant's light requirement have different purposes, and both need to be satisfied. A very close position that seems convenient is not a shortcut around the equipment instructions. If the shelf cannot provide the necessary clearance, change the fixture or layout. That is a more useful buying decision than squeezing the lamp into a gap it was not intended to occupy.
A map describes a particular light over a particular area at a particular height. Record those conditions before using its readings. Centre intensity, outer coverage and fixture heat can change with placement.
Two fixtures using the same electrical watts can have different optics and distributions. Do not transfer a hanging distance between them merely because their wattages match.
Measure from the relevant surfaces
Use the light-emitting surface and the foliage as your measuring points, following the manufacturer's measurement conventions where supplied. Measuring from the ceiling or shelf top adds fixture thickness and hardware to the number without necessarily describing the gap you meant to compare.
For a tray, record several growing-surface positions, including its edges and corners. For houseplants, note the outer and highest leaves as well as the center. If the collection has very different heights, consider grouping it differently. One overhead position may leave those plants in substantially different arrangements. A simple side-view sketch helps you see this before buying. Record the measurement unit clearly so a later adjustment does not become a comparison between inches and centimetres.
Record the distance from the emitting area to the foliage, following the manufacturer’s convention where supplied. Plant height and fixture thickness reduce the clearance below a shelf. Measuring from the pot rim or upper shelf can describe the wrong gap.
For an uneven canopy, record the nearest leaf and several outer leaves. The nearest leaf is important for positioning, while the outer readings help show how uneven the arrangement is.
Adjust without a universal formula
Make changes deliberately and keep the conditions with the readings. If you raise a light, record the new gap and check the growing area again rather than assuming one universal formula describes the entire fixture. A long, nearby LED assembly is not the same geometry as an ideal point source.
Remember that the daily schedule contributes to total light quantity. A measurement at one moment answers a different question from light accumulated through the day. Use plant-specific guidance to interpret the arrangement, and avoid changing height, schedule, watering, and several other conditions simultaneously. Adjustable hanging hardware is valuable because it lets you make and record a manageable change as the foliage develops or the crop is replaced.
Do not assume inverse-square scaling accurately predicts a multi-bar fixture close to the canopy. Use published readings at comparable distances, or measure the arrangement after a change.
The DLI tool can show the daily photon quantity for a constant PPFD and chosen hours. It cannot determine whether a distance is biologically appropriate or replace a source-supported plant reference. Keep the plant goal and fixture conditions in the same record.
Choose a fixture that suits this job
Barrina T5 shelf-bar family
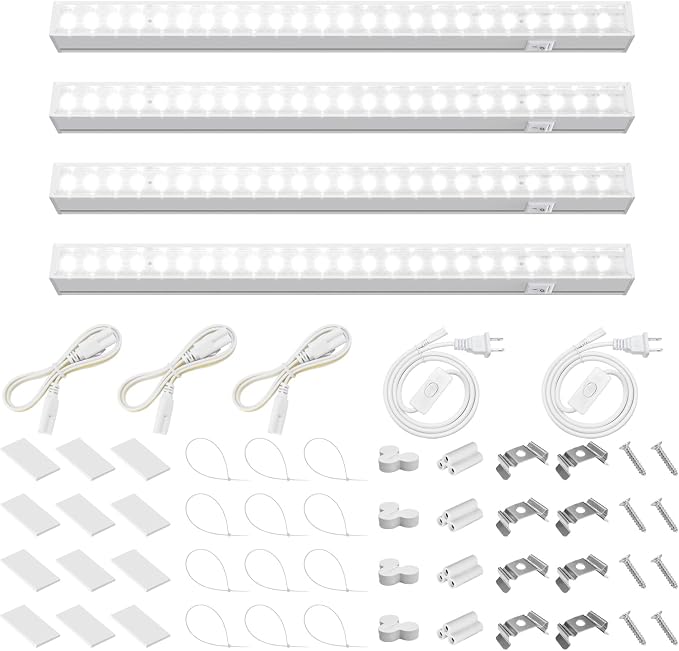
For a compact shelf, the Barrina T5 one-foot, white-cover four-pack is our modular option to compare. Separate bars let you plan their positions around a row of pots or a small tray, rather than placing one spotlight over the middle. The selected listing includes connecting cords and several mounting components, and describes a 20W total across the four bars. Use the exact pack when checking what you need.
This version is non-magnetic; other Barrina listings have different covers and attachment systems. Choose mounting hardware suited to your shelf and follow the surface restrictions in the instructions. For instance, tape has a different job on a smooth panel than on a wire rack. We favor these bars when flexibility in arranging a small shelf matters. The tradeoff is more individual pieces and cables to organize. Do not assume that four bars automatically cover a particular tray: check the intended mounting distance, distribution, and plant requirements before deciding how many to install.
View Barrina T5 shelf-bar family on Amazon (paid link)
Spider Farmer SF600
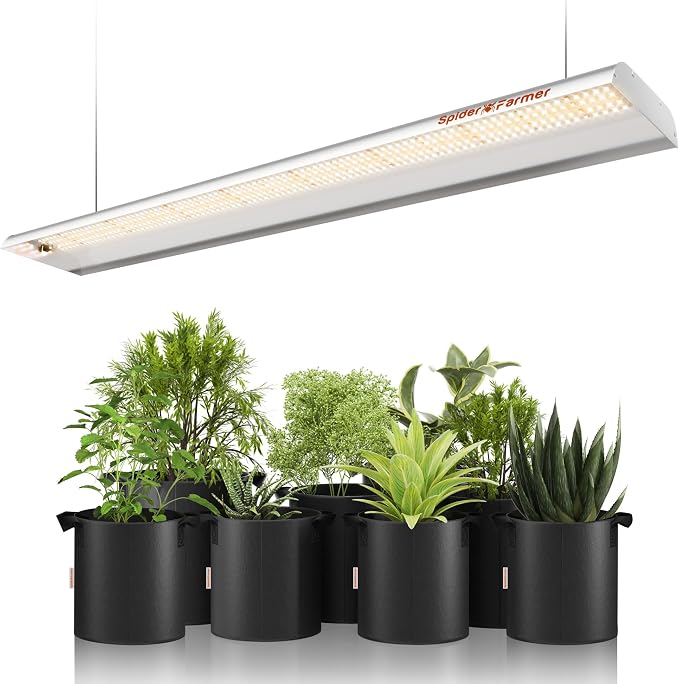
The Spider Farmer SF600 is the longer, integrated fixture to compare for a rectangular growing area. We recommend its form for buyers who would rather hang one long assembly than arrange several separate short bars. That can simplify the physical layout above trays, provided the fixture and hanging hardware fit inside the available space.
Allow room for the power supply, cable exits, and raising or lowering the fixture. Check the current package and its controls instead of assuming it includes a dimmer or timer. External reviews discuss earlier SF600 versions, and the currently observed listing gives different power wording from older documents. For that reason, confirm the current model's input draw before calculating cost, and use its current instructions for mounting. The benefit is the tidy rectangular arrangement; the limitation is that a long fixture is less adaptable to an isolated pot or a narrow furniture corner. A staged product photograph does not establish uniform light across its entire pictured display.
View Spider Farmer SF600 on Amazon (paid link)
Make the setup easy to use
Evaluate a complete arrangement
A good comparison includes the lamp, its mount, the space it occupies, and the routine you will use. Put your proposed fixture into a simple sketch showing the foliage, shelf edges, cord route, and access for watering. Include room to make adjustments. A fixture that technically fits can still be inconvenient when its switch is behind the plants or its cable crosses the area where you lift containers.
Compare two options using the same growing footprint and available mounting height. Keep the model, revision, and controls with any published measurements. If one map was made closer to the light or inside reflective walls, it is not a direct comparison with a map made farther away on an open shelf. Ask for missing conditions before treating a large headline number as useful evidence.
Separate light quantity from power use
PPFD describes light arriving at a surface, while watts describe electrical input. Both are useful, but they answer different questions. Record readings where the leaves sit and look at several positions across the display. A lamp can have a high center reading without distributing that light in the shape you need. Published PPF is overall output; it does not establish a particular leaf-level reading.
For a constant reading, DLI equals PPFD multiplied by daily hours and 0.0036. An illustrative 100 µmol/m²/s for twelve hours therefore gives 4.32 mol/m²/day. This is arithmetic, not a plant recommendation. Changing daylight requires measurements over time, so one noon window reading should not be multiplied by the entire day. Keep biological guidance separate from the calculation.
Include the ongoing expense
A hypothetical 30W light running twelve hours daily for thirty days uses 10.8 kWh. At an assumed $0.15 per kWh, that is $1.62 for the month. Use actual input power and your own tariff, then add mounts, compatible bulbs, and any timer to the upfront comparison. A cheaper lamp that needs additional fixtures may become a more expensive complete setup. Decide what meets the task before deciding which price looks best.
Work through three common distance decisions
On a low shelf, subtract plant height, fixture thickness, and mounting allowance from the available vertical gap. If the remaining space cannot satisfy the fixture instructions, a short bar is not automatically the solution simply because it looks slim. Compare the documented minimum clearance and approved mount before making the purchase.
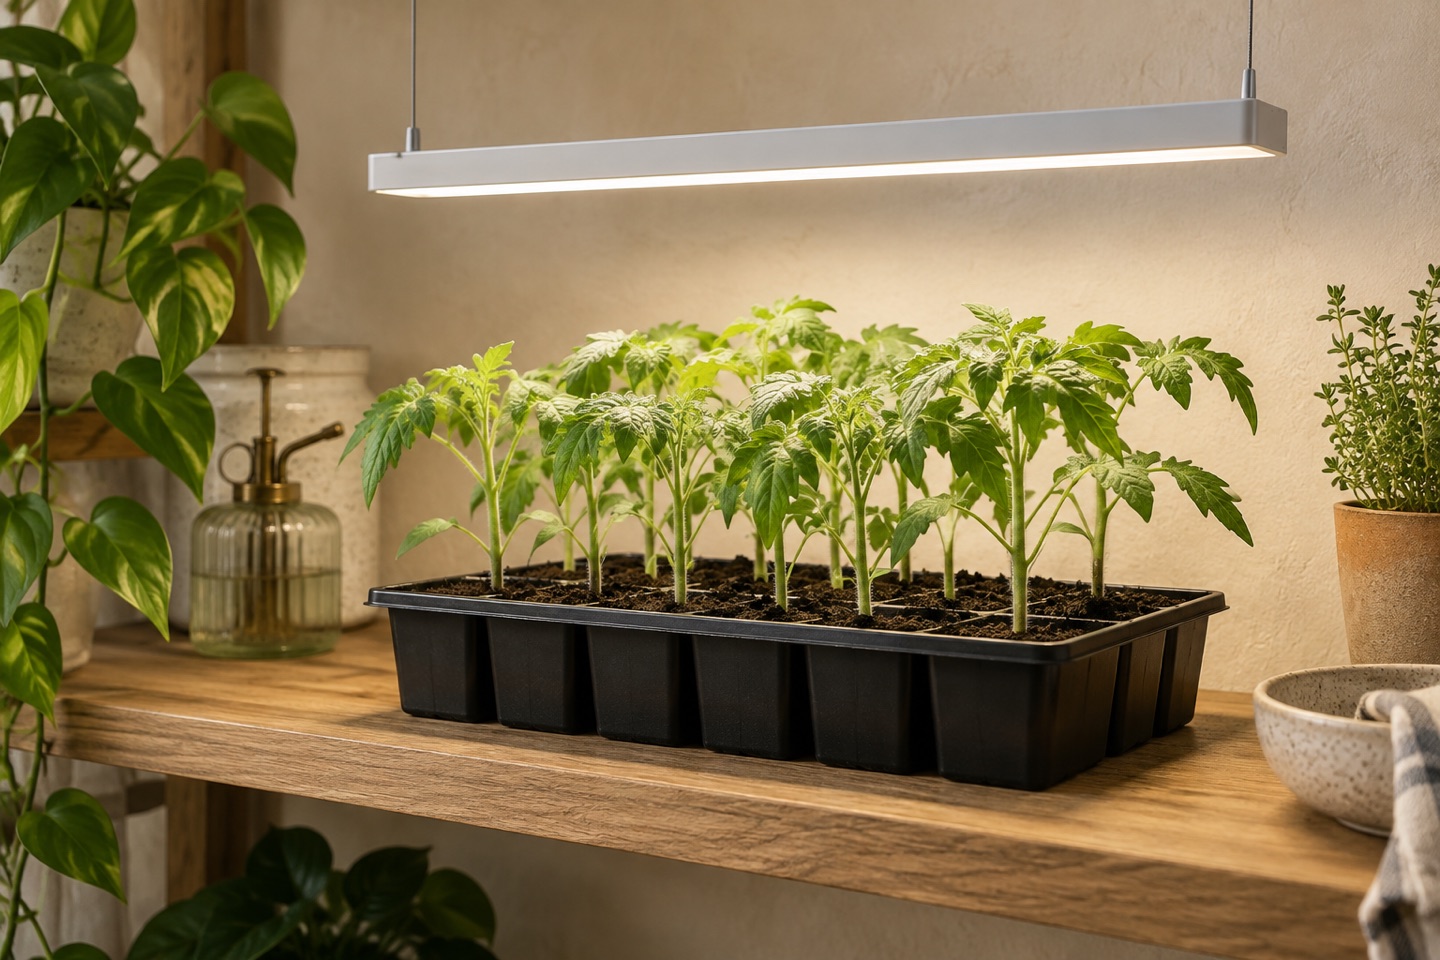
Above a tray, choose a hanging arrangement that lets you keep the intended working gap as the plants become taller. The Spider Farmer SF600 is a longer form to compare; confirm the supplied hardware and current model details. The useful feature is the ability to position the fixture over the rectangle, not a promise that every plant belongs at one particular number of inches.
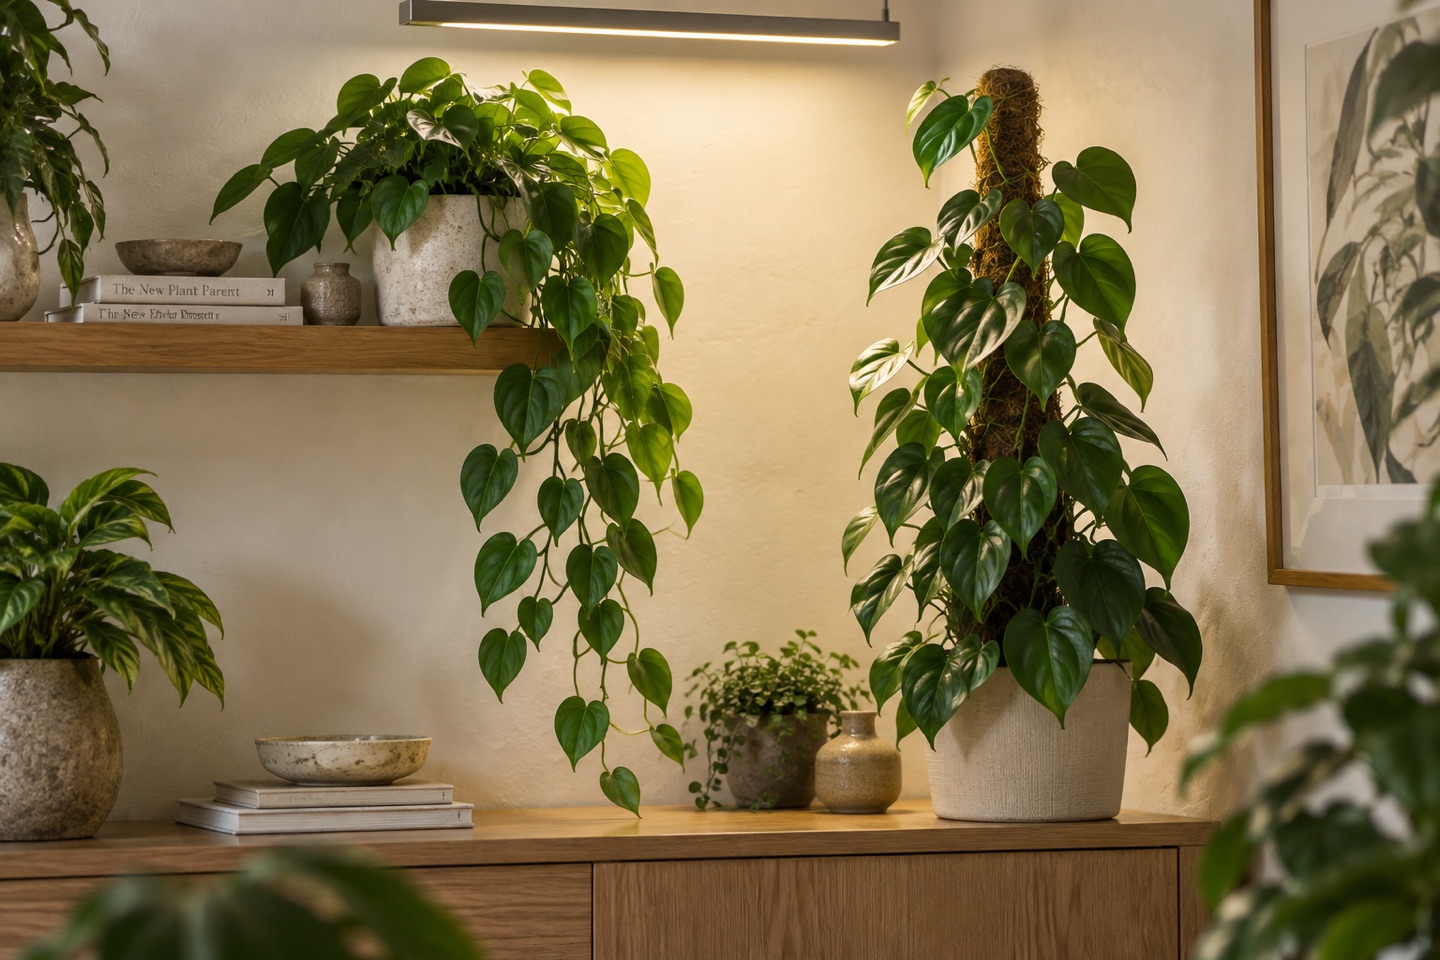
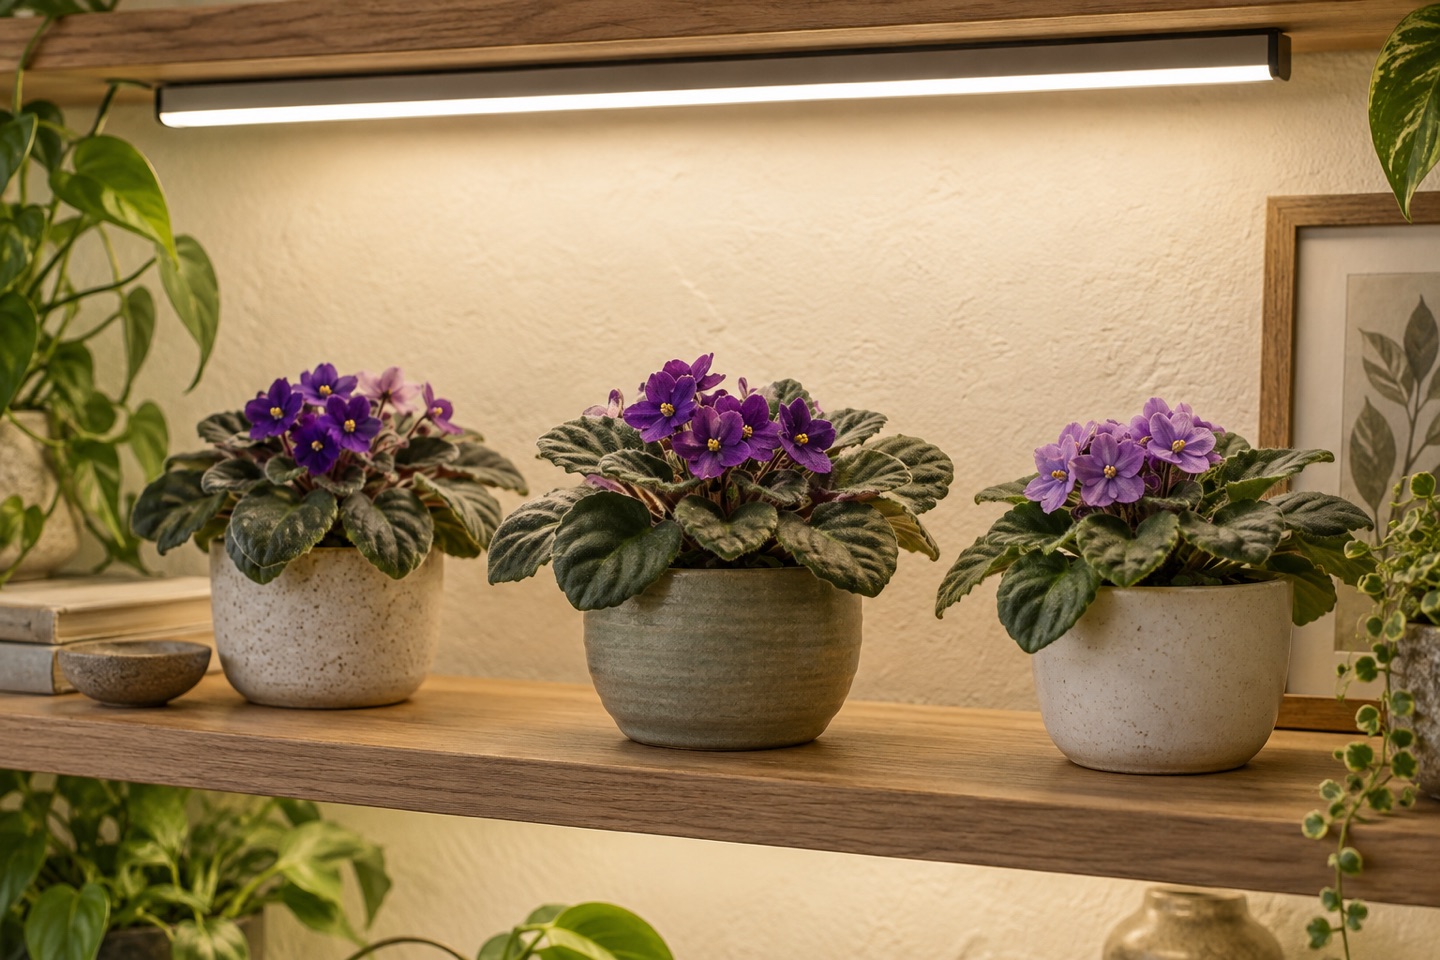
For a mixed collection, decide whether one fixture can serve the grouping sensibly. Tall plants and low rosettes may require different physical positions, and lifting pots on improvised supports can create other problems. Reorganize the collection where possible, then evaluate its readings and care guidance. More brightness at the center does not resolve an inconvenient spread of leaf heights. A clear arrangement usually makes distance decisions easier to understand and maintain.
Our recommendation
Choose grow-light distance from the exact fixture's instructions and output information, then evaluate it at the foliage. We recommend an adjustable installation with a recorded starting position, especially for trays and changing collections.
Measure the growing area at several points and preserve the mounting clearance. Use species or crop guidance to interpret light quantity, rather than treating one distance as suitable for every plant. If the shelf lacks sufficient headroom, resolve that geometry before purchasing. The most useful answer is a repeatable position you can explain and adjust, supported by the right information for the equipment.
When you are ready to compare listings, consider Barrina T5 1FT white-cover four-pack (paid link) for a modular compact shelf; Spider Farmer SF600 (paid link) for a longer rectangular growing station. Check the selected version and included components before ordering.
Research sources and scope
Plant guidance comes from the references below. Fixture links accompany the relevant recommendations. Arrangement examples and purchasing advice are our analysis. We report no hands-on product trials or independently measured growing footprints.
- Supplemental-light measurement concepts — Iowa State Extension ↗Reviewed 2026-09-27
- Independent Barrina review; longer version, not an exact one-foot test ↗Reviewed 2026-09-27
- Independent SF300/SF600 measurements; earlier versions and stated test conditions ↗Reviewed 2026-09-27
- SF600 setup review; gifted unit and affiliate disclosure, numerical claims excluded ↗Reviewed 2026-09-27