Lighting a microgreen tray: coverage and clearance
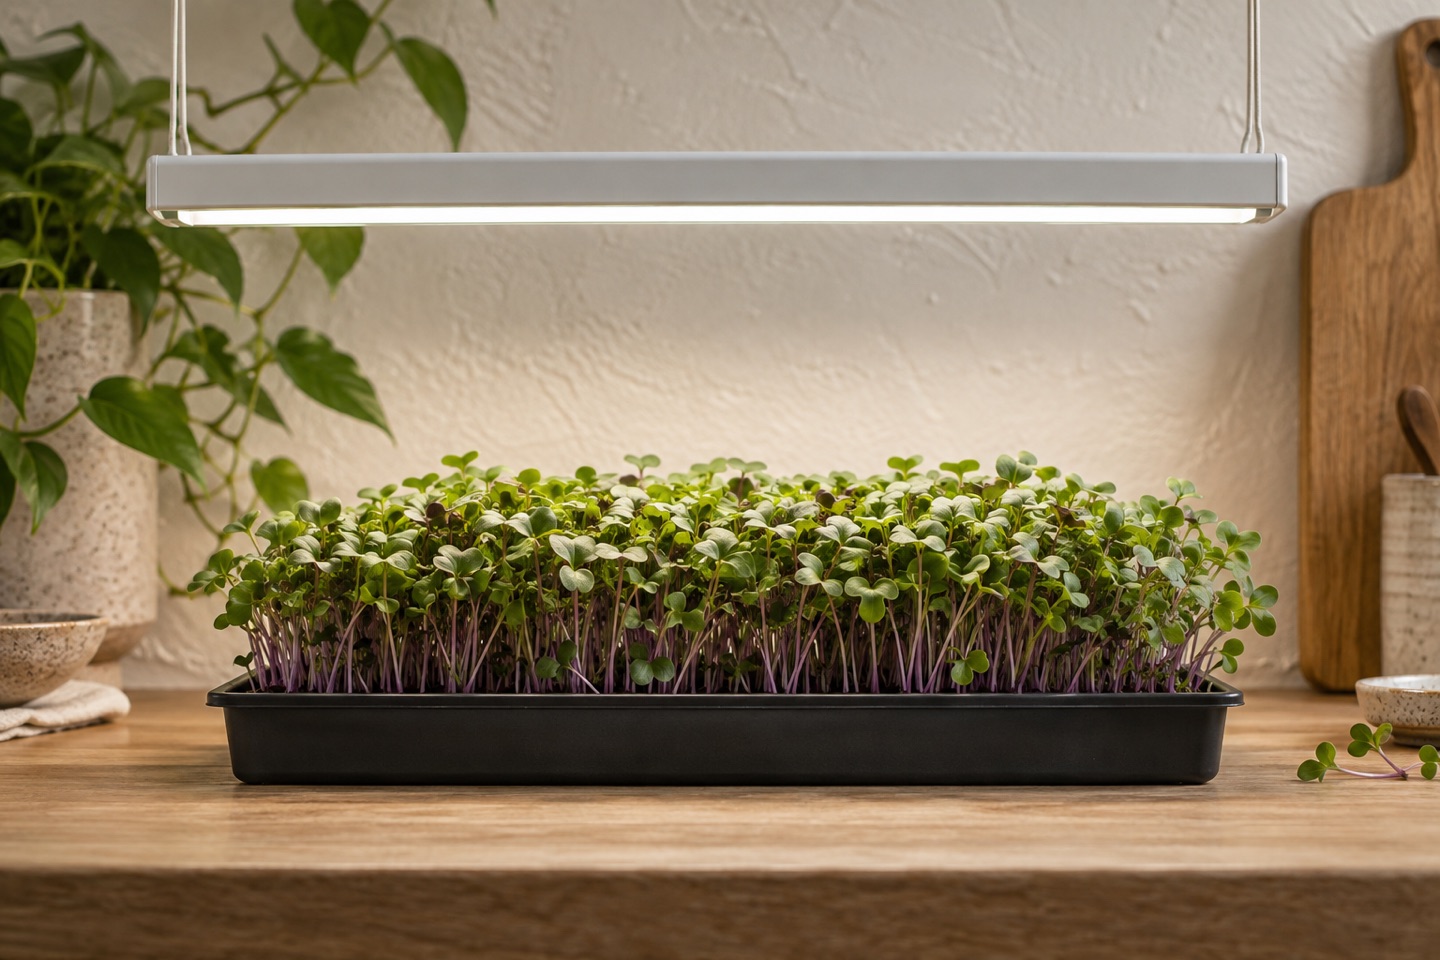
A microgreen tray turns a small shelf into a repeatable growing project. The lighting becomes easier to choose when you plan the entire tray and the next batch, rather than chase the brightest point directly beneath a lamp. You need useful access from sowing through harvest, plus a routine you can repeat.
We recommend an adjustable linear arrangement matched to the tray footprint. Short bars give you options for a compact shelf, while a longer fixture deserves comparison for several trays in a row. This guide helps you choose the physical setup and evaluate the documentation, keeping commercial production references in context for a home project.
As an Amazon Associate I earn from qualifying purchases. Amazon links below are paid links. Read our disclosure.
This guide combines source-based research with practical arrangement advice. We have not conducted hands-on product tests.
Separate microgreens from mature crops
Set out the tray, its drainage arrangement, and the space where you will lift or cut the crop at harvest. Include any temporary cover used in the growing process when checking available headroom. The lighting installation should accommodate the stages you actually follow rather than the neat final tray in a product photograph.
For one tray on a table, leave a clear place to put it when you remove it from beneath the light. For several trays on a rack, check whether each can slide out independently. A shelf that can hold many trays may still have an inconvenient working route. Count the trays you can maintain comfortably before deciding how many fixtures belong above them.
Virginia Cooperative Extension describes microgreens as fast-growing crops that need little space. A small tray of shoots is a different lighting problem from mature fruiting vegetables. Virginia Cooperative Extension notes that requirements vary with species and production goals.
Name the crop and keep your intended harvest stage in the plan. Do not copy a commercial production target without its conditions and then label it an optimum for every home tray.
Measure the tray’s actual footprint
Keep crop identity and batch date with the lighting record. Microgreens are a production category, not one plant with one universal requirement. Virginia Cooperative Extension discusses variation among species and production goals; use that context before copying a single program across every tray.
A home grower may prioritize a manageable routine and a small harvest, while a commercial reference may evaluate yield or nutritional characteristics under controlled conditions. Those different goals matter when you interpret a study. Choose an appropriate source for the crop and conditions you intend to use. The published installation can inform your questions without becoming a promise that your kitchen shelf will reproduce the same result.
Use the outer dimensions of the tray and any drainage tray. Draw the arrangement if more than one sits on a shelf. Include access to water and handle each tray without hitting the fixture.
A light bar is a form to compare for a narrow growing area; a broader array may call for another layout. The number of fixtures cannot be determined from tray count and electrical watts alone.
Keep useful records
Compare output over the tray surface at the height you can maintain. A measurement taken at the center does not describe every corner. Look for the tested footprint and conditions, and keep them with your layout sketch. When readings are unavailable, treat coverage as an unresolved part of the comparison rather than inventing a number of trays per lamp.
Plan the daily schedule and height adjustment before you begin the first batch. A simple, recorded routine makes later comparisons easier. If you test another light position, change it deliberately and note the date, crop, and batch stage. The value of the equipment is not just brightness; it is the ability to operate a consistent arrangement that you can evaluate and use again.
Record mounting distance, timer hours and the exact light model. A map is comparable only when its tested footprint and conditions resemble your setup. Where possible, compare centre and edge leaf-level readings.
Track each batch without turning a single successful tray into a general product-performance claim. We have not performed yield or nutritional testing and do not rank lamps by either outcome.
Choose a fixture that suits this job
Barrina T5 shelf-bar family
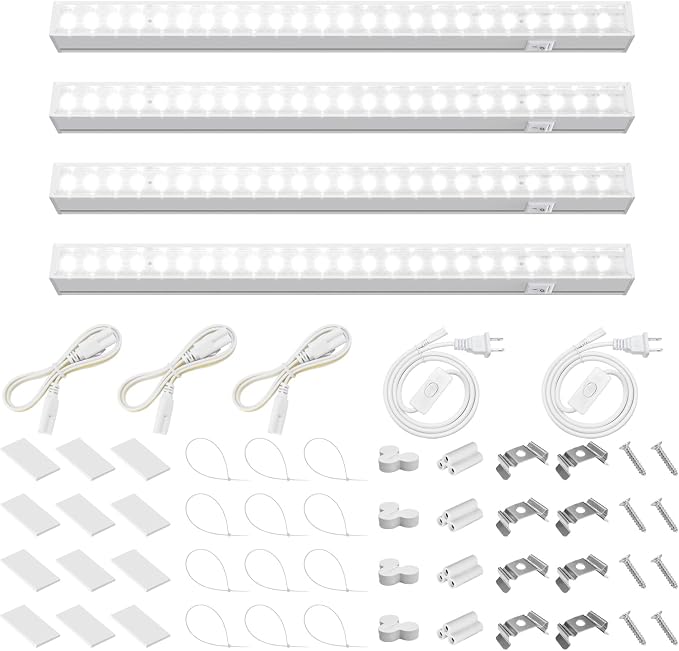
For a compact shelf, the Barrina T5 one-foot, white-cover four-pack is our modular option to compare. Separate bars let you plan their positions around a row of pots or a small tray, rather than placing one spotlight over the middle. The selected listing includes connecting cords and several mounting components, and describes a 20W total across the four bars. Use the exact pack when checking what you need.
This version is non-magnetic; other Barrina listings have different covers and attachment systems. Choose mounting hardware suited to your shelf and follow the surface restrictions in the instructions. For instance, tape has a different job on a smooth panel than on a wire rack. We favor these bars when flexibility in arranging a small shelf matters. The tradeoff is more individual pieces and cables to organize. Do not assume that four bars automatically cover a particular tray: check the intended mounting distance, distribution, and plant requirements before deciding how many to install.
View Barrina T5 shelf-bar family on Amazon (paid link)
Spider Farmer SF600
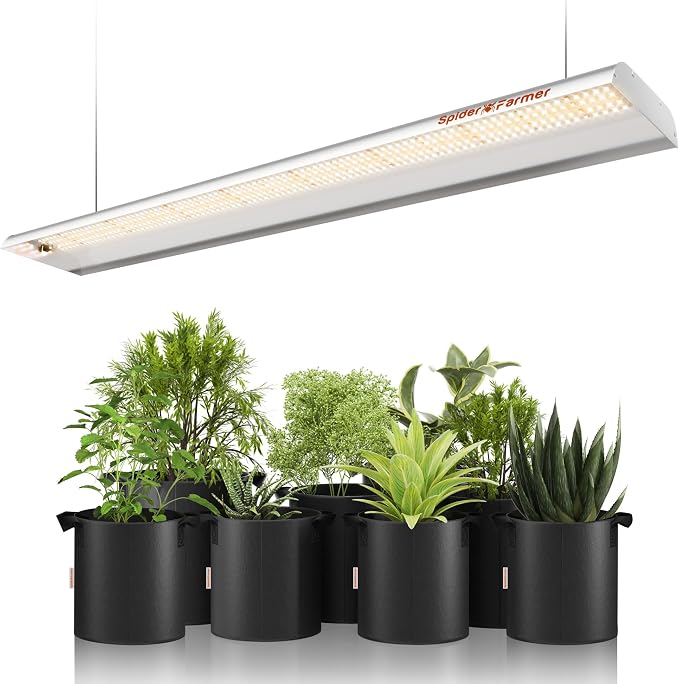
The Spider Farmer SF600 is the longer, integrated fixture to compare for a rectangular growing area. We recommend its form for buyers who would rather hang one long assembly than arrange several separate short bars. That can simplify the physical layout above trays, provided the fixture and hanging hardware fit inside the available space.
Allow room for the power supply, cable exits, and raising or lowering the fixture. Check the current package and its controls instead of assuming it includes a dimmer or timer. External reviews discuss earlier SF600 versions, and the currently observed listing gives different power wording from older documents. For that reason, confirm the current model's input draw before calculating cost, and use its current instructions for mounting. The benefit is the tidy rectangular arrangement; the limitation is that a long fixture is less adaptable to an isolated pot or a narrow furniture corner. A staged product photograph does not establish uniform light across its entire pictured display.
View Spider Farmer SF600 on Amazon (paid link)
Make the setup easy to use
Make the shelf work on ordinary days
Plan the daily jobs before fixing the light permanently. You need to inspect plants, lift containers, deal with drainage, and adjust the arrangement as growth changes its height. Route cords so those tasks do not require disconnecting the entire installation. Keep electrical components away from the normal watering route and follow the fixture's environment restrictions.
A timer reduces the number of things you must remember. Check that the chosen light restarts as expected after the timer restores power and that the planned light and dark periods suit the crop. Some controls retain their settings, while others need manual intervention; verify the exact model before depending on an unattended routine. Check the first full cycle after installation.
Keep comparisons meaningful
Label each tray or pot with its crop and starting date, then record fixture position and schedule. Compare plants at similar stages rather than comparing a newly started tray with one that has already grown taller. If you change the lamp setting, note that change separately from a change in watering, growing medium, or temperature. This gives you a useful record when planning the next batch.
For output measurements, use readings at the foliage or intended growing surface. Check several positions across the tray, including the corners, with the sensor facing the source consistently. Record the instrument, settings, distance, and any dimmer position. A center reading can look encouraging while leaving a different arrangement at the edges. Use the crop's guidance to interpret your readings rather than selecting a target simply because it appears in another person's product review.
Price the whole installation
Add the input watts of the lamps you will actually run. In a hypothetical 40W arrangement operated fourteen hours daily for thirty days, the lamps use 16.8 kWh. At an assumed $0.15 per kWh, that costs $2.52 for the month. A different tariff or schedule changes the result. Include additional equipment separately and compare the upfront cost as well as electricity. These example numbers illustrate the calculation; they are not a crop prescription or measurements of a named fixture.
Start with one repeatable batch
For a first tray, choose a station that is easy to inspect and harvest from. Short bars are worth comparing when the shelf is compact and suitable mounting surfaces are available. Avoid buying a large installation before you know how the tray will fit into your daily routine.
For two trays in a dedicated rectangular area, compare a longer fixture against several bars using the same total footprint. Include cords, mounts, and adjustment space. A single assembly can simplify hanging, while separate bars give you more layout choices. Current documentation should decide the usable distribution; the number of pieces in the box does not do that by itself.
For successive batches, reserve somewhere for the next tray before filling every lit position. Label the trays so comparisons reflect similar stages. If one batch seems different, consider crop identity and the rest of the growing conditions alongside light. Record the changes rather than assuming that another fixture is the immediate answer. A small setup you can repeat reliably is a stronger starting point than a crowded rack with no working space.
Our recommendation
Choose an adjustable linear arrangement that covers the documented tray area and leaves room for the complete growing routine. We recommend modular bars for a small shelf and a longer fixture for an uninterrupted rectangular station, subject to current output and mounting checks.
Before buying, identify the crops, measure the complete trays, reserve harvest access, and plan the next batch. Use crop-specific references to interpret the schedule and measurements. Keep the purchase focused on a repeatable home setup; a commercial publication or staged photograph does not establish the results of your exact installation.
When you are ready to compare listings, consider Barrina T5 1FT white-cover four-pack (paid link) for a modular compact shelf; Spider Farmer SF600 (paid link) for a longer rectangular growing station. Check the selected version and included components before ordering.
Research sources and scope
Plant guidance comes from the references below. Fixture links accompany the relevant recommendations. Arrangement examples and purchasing advice are our analysis. We report no hands-on product trials or independently measured growing footprints.
- Virginia Cooperative Extension: microgreen production ↗Reviewed 2026-09-27
- Iowa State Extension: supplemental indoor light and measurement concepts ↗Reviewed 2026-09-27
- Independent Barrina review; longer version, not an exact one-foot test ↗Reviewed 2026-09-27
- Independent SF300/SF600 measurements; earlier versions and stated test conditions ↗Reviewed 2026-09-27
- SF600 setup review; gifted unit and affiliate disclosure, numerical claims excluded ↗Reviewed 2026-09-27